Your Go-To Recipe for Paneer 65 (That's Surprisingly Easy)
Discover our easy recipe for paneer 65. Learn how to make this crispy, spicy, and delicious vegetarian snack at home with simple, actionable steps.
Posted by
Ready to whip up a dish that's crispy, spicy, and honestly, a little bit addictive? Let's make some Paneer 65. This recipe nails that vibrant, fiery red color and satisfying crunch you'd get at a restaurant, but with soft, creamy paneer instead of chicken. It’s the perfect vegetarian showstopper for pretty much any occasion.
The Perfect Crispy Paneer Snack
If you've ever had its famous cousin, Chicken 65, you know the amazing flavor we're aiming for. Paneer 65 uses that same bold, spicy marinade on cubes of Indian cheese, creating a snack that everyone loves. It's the perfect appetizer for a party, but it's also my go-to when I'm just craving a treat with a serious kick on a quiet evening.
This recipe is designed to be straightforward, so you can get that authentic taste without a ton of fuss. And enjoying incredible homemade food doesn't mean you have to toss your health goals out the window. It’s all about finding a happy balance and being mindful of what you eat, not about strict rules.
A Modern Spin on a Classic
Paneer 65 is a clever vegetarian take on the legendary Chicken 65, a spicy fried chicken dish that originated at the Hotel Buhari in Chennai, India, way back in 1965. The unique flavor, driven by red chilies and a blend of spices, was an instant hit. It became so popular that chefs started experimenting with other ingredients like paneer and cauliflower. You can read more about the fascinating history of Chicken 65 from the Times of India.
One of the best things about making dishes like this at home is that you're in complete control. You decide the spice level, the type of oil, and exactly what goes into it. It’s a fun way to cook while staying connected to what you're eating.
Keeping track of what you eat has also gotten so much easier. For instance, with an app like munchlog.ai, logging a homemade meal is as simple as talking to your phone. You can literally just say, "I ate a bowl of homemade Paneer 65," and get an instant breakdown of the protein, carbs, and fat.
This kind of effortless approach takes the tedious work out of tracking. No need to manually enter every single ingredient from your recipe. It's perfect for anyone who wants to casually keep an eye on their nutrition while still enjoying the foods they genuinely love.
Alright, let's get cooking.
Getting Your Ingredients Ready for Paneer 65
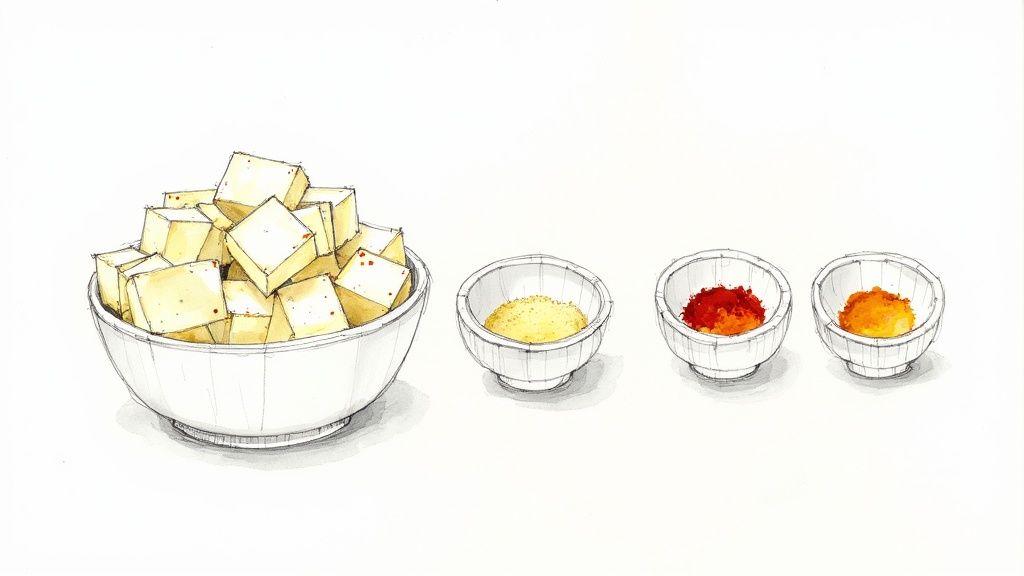
Any great dish begins with having all your components ready to go. For Paneer 65, the secret to success lies in a fragrant marinade and a seriously crispy coating. Taking a few minutes to gather and measure everything first—what chefs call mise en place—transforms cooking from a chaotic scramble into a smooth, enjoyable process. Trust me, you don't want to be hunting for the garam masala while your oil is getting too hot.
The heart of this recipe is, without a doubt, the paneer. You’ll want a firm 200-gram block that won’t crumble when you fry it. For that iconic, fiery red hue without a ton of heat, Kashmiri red chili powder is my go-to. It provides color more than spice, which is exactly what we want here.
To achieve that irresistible crunch, we'll use a simple but effective combination of cornflour and rice flour. This duo is the key to a light, crispy coating that stays that way.
The Complete Ingredient List
To make things easy, I've put together a full checklist of everything you'll need. Having all these ingredients measured out and within arm's reach is the best way to start.
| Paneer 65 Ingredient Checklist | ||
|---|---|---|
| Ingredient Category | Item | Quantity/Notes |
| For the Paneer & Marinade | Paneer (firm) | 200 grams, cut into cubes |
| Plain Yogurt (or Curd) | 2 tbsp | |
| Ginger-Garlic Paste | 1 tsp | |
| Lemon Juice | 1 tsp | |
| Kashmiri Red Chili Powder | 1 tsp (for color) | |
| Regular Red Chili Powder | ½ tsp (or to taste) | |
| Turmeric Powder | ¼ tsp | |
| Garam Masala | ½ tsp | |
| Cumin Powder | ½ tsp | |
| Salt | To taste | |
| For the Batter | Cornflour | 2 tbsp |
| Rice Flour | 1 tbsp | |
| All-Purpose Flour (Maida) | 1 tbsp (optional) | |
| Water | 2-3 tbsp, just enough to coat | |
| For Frying & Garnish | Neutral Oil | For deep or shallow frying |
| Curry Leaves | A small handful | |
| Green Chilies | 2-3, slit lengthwise |
With your ingredients lined up, you're all set for the fun part. Let's move on to marinating the paneer.
Building Flavor with the Perfect Marinade
This is where your Paneer 65 truly comes to life. The marinade isn't just a coating; it's the heart of the dish, infusing the paneer with that classic tangy and spicy kick. We're aiming for a thick, vibrant paste that will cling to every single cube.
In a medium-sized bowl, get your marinade started. Combine the yogurt, ginger-garlic paste, a good squeeze of lemon juice, and all the dry spices. The Kashmiri chili powder will give you that beautiful, deep red color without overwhelming heat, while the regular chili powder brings the fire. Add in the turmeric, garam masala, and cumin, and mix it all together until it's completely smooth.
The consistency is key here. You want a paste thick enough to generously coat the back of a spoon.
Once the marinade is ready, gently introduce the paneer cubes. I find it’s best to use your hands to toss them, as you can be more delicate than with a spatula. Just be careful not to break the cubes as you make sure each one is completely covered in that flavorful mixture.
Maximizing Flavor Absorption
Now for the hard part: waiting. It's tempting to rush this step, but letting the paneer marinate is non-negotiable for incredible flavor. You need to give the spices time to work their way into the cheese.
Let the coated paneer rest for at least 30 minutes on the counter. If you've planned ahead, even better! You can cover the bowl and let it marinate in the fridge for a couple of hours to deepen the flavor even more.
This quick infographic really simplifies the marination flow.

As you can see, it's a simple process. A good rest is what transforms plain paneer into something spectacular.
Creating the Perfect Crispy Coating
While the paneer is soaking up all that flavor, let's prepare the secret to that addictive crunch. It’s all about the flours.
In a separate bowl, just whisk together the cornflour and rice flour. This simple duo is what gives you a light, airy, and incredibly crispy coating once fried. When the marination time is up, you'll dredge the paneer cubes through this flour mix right before they hit the hot oil.
The technique of using a spiced yogurt marinade is a nod to the dish's non-vegetarian origins, creating a fantastic high-protein appetizer. For those interested in crafting their own spice mixes, A Comprehensive Guide to Dry Rubs is a great resource that can be applied to all sorts of cooking, not just grilling.
Pro-Tip: Resist the urge to add any water to the flour mixture. The moisture from the marinade is exactly what you need to make the coating stick perfectly. Adding water will just make the batter heavy and could leave you with a soggy result.
And that's it—your paneer is prepped and ready for frying. If you're a fan of making your own spice blends from scratch, you might also enjoy our guide to making your own sambar masala recipe. Now, let’s heat up some oil.
Getting That Perfect Golden Crunch

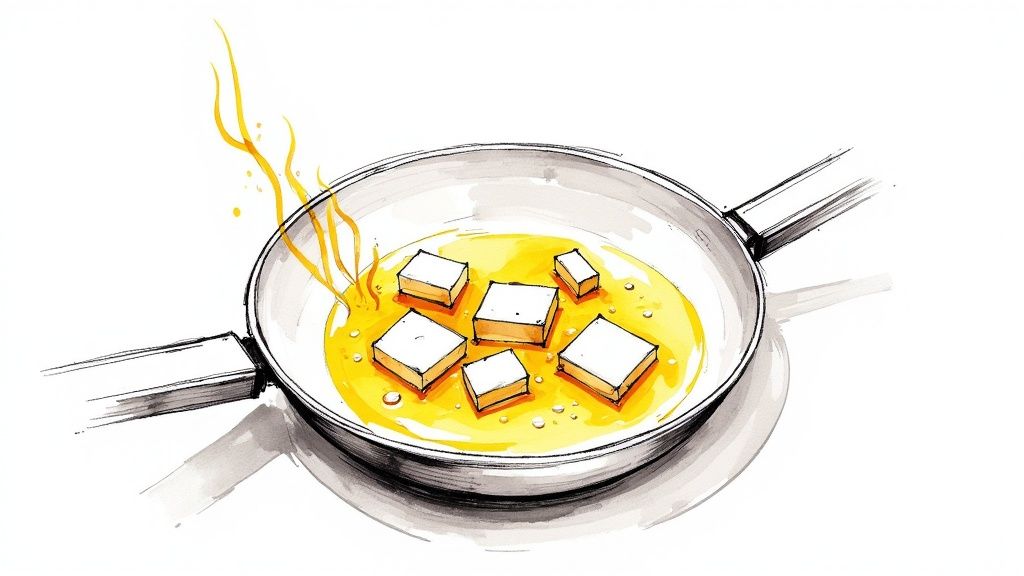
This is my favorite part—the moment we transform those marinated paneer cubes into golden, crunchy bites of heaven. Frying can feel a bit daunting, but I promise it's simpler than it looks. The real trick is getting that signature crunch without the paneer turning tough or greasy.
We're going for that irresistible contrast: a shatteringly crisp coating with a soft, almost creamy paneer interior. The secret? It's all about the oil temperature.
The Frying Technique
You're aiming for a sweet spot between 350-375°F (175-190°C). Hot enough, and the coating crisps up instantly, sealing the paneer so it doesn't soak up oil. Too cool, and you'll end up with a soggy mess.
No thermometer? No problem. I rarely use one myself. Just drop a tiny bit of the batter into the pan. If it sizzles right away and floats to the top, your oil is ready. You're listening for a confident sizzle, not an angry, splattering roar.
Now, if you take away only one piece of advice for making Paneer 65, let it be this: fry in small batches.
Seriously, this is non-negotiable. Crowding the pan is the fastest way to ruin your hard work. It causes the oil temperature to plummet, steaming the paneer instead of frying it. Give each cube its personal space to sizzle and brown properly.
As soon as the cubes are a beautiful golden brown on all sides, use a slotted spoon to lift them out. Let them drain on a wire rack or a plate lined with paper towels. This little step helps any excess oil drip away, keeping them perfectly crisp.
Frying is a rhythm you get into. After a few batches, you'll know just by the sound and color when the paneer is done. It's one of those hands-on cooking moments that's incredibly satisfying.
Enjoying Paneer 65 Mindfully
Let's be real—food this good is meant to be savored, not stressed over. Paneer 65 is definitely an indulgent, deep-fried treat, but thanks to the paneer, it also packs a decent protein punch. It's all about balance, and it's totally possible to enjoy this dish without any guilt.
A typical homemade serving of about 100 grams will generally fall in the 250-300 calorie range. It’s a fantastic way to satisfy that craving for something crispy and spicy while still getting some quality protein.
What’s in a Serving?
Of course, the exact numbers will shift depending on your specific ingredients and how much oil you use, but here's a rough breakdown of what you're looking at per serving.
- Protein: You'll get somewhere around 14-16 grams. This is what helps keep you feeling full and satisfied.
- Fat: Expect about 18-22 grams, which comes from both the paneer itself and the oil used for frying.
- Carbohydrates: This is pretty low, typically 8-12 grams from the flours in the coating.
Knowing this isn't about obsessing over numbers. It's about awareness. It helps you see how a single dish fits into your day, making it easier to plan your other meals accordingly.
Paneer-based snacks have become super popular, and not just in India. Paneer is a staple in a country that produces nearly 195 million metric tons of milk each year. As vegetarian options become more sought-after globally, dishes like Paneer 65 are getting the spotlight they deserve. Fun fact: you can learn more about how Chicken 65's popularity paved the way for paneer variations on Wikipedia.
Trying to track a homemade dish like this can feel like a chore, but that's where munchlog.ai makes things easy. Just tell the app, "I had a bowl of homemade Paneer 65," and you get an instant nutritional estimate. No fussing with manual entries. It takes the guesswork out of fitting your favorite Indian meals into your health goals. For a deeper dive, check out our guide on a calorie counter for Indian food.
Getting Creative: Variations and Serving Ideas
Once you have the classic Paneer 65 recipe down, the real fun begins. I always think of the base recipe as a canvas, ready for you to add your own personal touch. A few simple changes can adapt it to your preferences or even make it a healthier weeknight option.
From my experience, the most common mistake is crowding the pan. This steams the paneer instead of making it crispy, so always fry in batches. Also, start with good, firm paneer; softer varieties just can't handle the heat and tend to crumble.
Lighter Alternatives and Flavor Twists
Craving that crunch without the deep-frying? You've got great options. Both baking and air frying work wonderfully here.
- Baked Paneer 65: Just spread the coated paneer cubes on a baking sheet. A quick spray of oil is all they need. Pop them in a 400°F (200°C) oven for about 15-20 minutes, flipping them once at the halfway mark.
- Air-Fried Paneer 65: Arrange the paneer in a single layer in your air fryer basket. Cook at 375°F (190°C) for 10-12 minutes, giving the basket a good shake midway through, until they’re perfectly golden.
No matter which cooking method you choose, the goal is to enjoy food that makes you happy. Logging it with munchlog.ai is as simple as saying, "I had baked Paneer 65," helping you keep an eye on your nutrition without the hassle of manual tracking.
Serving Your Masterpiece
Paneer 65 shines all on its own as a fantastic appetizer. Serve it piping hot with a generous squeeze of fresh lemon and a garnish of thinly sliced onions. For a classic pairing, a cooling mint chutney provides the perfect contrast to the spicy coating.
Want to make it a main course? It’s absolutely brilliant alongside a fragrant rice dish. Our simple recipe of Bagara Rice is a match made in heaven. If you're building out your weekly menu, it's also worth exploring other vegetarian dinner recipes for more plant-based ideas.
Your Paneer 65 Questions, Answered
If you're tackling Paneer 65 for the first time, you probably have a few questions. That's totally normal! Let's walk through some of the most common issues people run into so you can get this dish right from the get-go.
Can I skip the deep-frying?
You absolutely can. If you're looking for a lighter version, baking or air frying the paneer works beautifully.
For baking, spread the marinated paneer cubes on a baking sheet lined with parchment. A quick spritz of oil helps them crisp up. Pop them into a 400°F (200°C) oven for about 15-20 minutes, making sure to flip them over at the halfway mark so they brown evenly.
If you have an air fryer, they'll cook even faster. Just 10-12 minutes at 375°F (190°C) should do the trick. While you won't get that exact deep-fried texture, the result is still wonderfully crispy and delicious.
Help! Why did my Paneer 65 get soggy?
Ah, the dreaded soggy paneer. This is almost always caused by one of two things: the oil wasn't hot enough, or the pan was too crowded.
Your oil needs to be properly hot—think 350-375°F (175-190°C)—before the first piece of paneer hits it. If the oil is too cool, the coating soaks it up like a sponge instead of instantly searing, leaving you with a greasy, soft mess.
The other key is to fry in small batches. Tossing too many cubes in at once causes the oil temperature to drop dramatically and doesn't give them room to crisp up. Give them space!
A Quick Pro Tip: The best paneer for this recipe is firm or extra-firm, as it holds its shape really well. If you find your block of paneer is a bit soft or watery, just press it under something heavy for about 30 minutes. This pushes out excess moisture and makes a world of difference.
You can definitely get a head start by marinating the paneer for up to 24 hours in the refrigerator. But for that perfect, addictive crunch, always wait to coat and fry it right before you're ready to eat.
Keeping track of homemade meals like this Paneer 65 is a breeze with munchlog.ai. Just say what you ate and get a complete nutritional breakdown without any typing. Learn more about how it works.